Creating a physical Spotify media player with the Raspberry Pi Pico
I always come up with a project to do over the Christmas period. This year I wanted to create a Pico powered physical Spotify media player with buttons to control music.
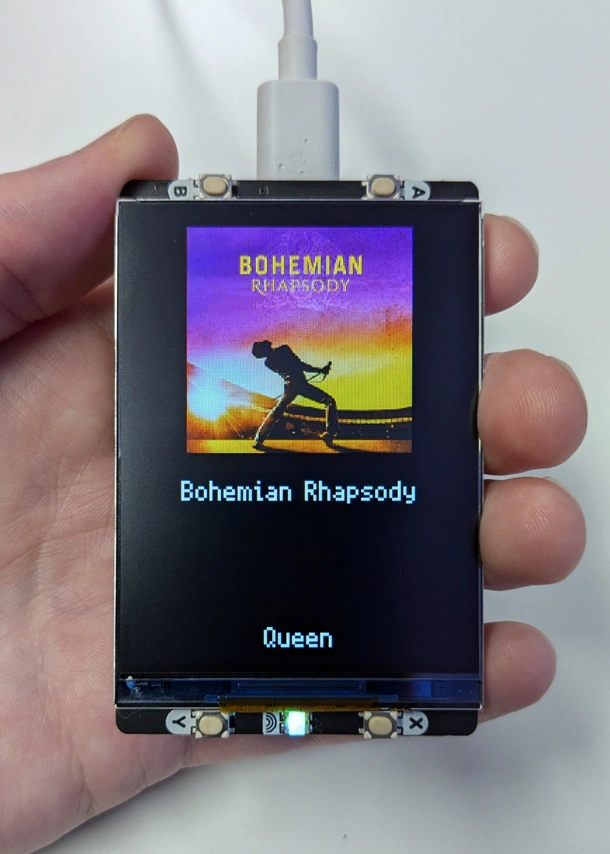
The final creation.
The idea
I like to listen to music. The trouble is, I don’t want to use my phone to control it or open up Spotify whenever I want to do something. It’s a minor problem, but phones are distracting and absorb your attention, so I try my best to avoid using it as much as possible.
You have to actively be looking at a touch screen to interact with it and a touch screen doesn’t have nearly the same feel as having physical buttons for controls. Perhaps that’s nostalgia from before smartphones became the norm.
I don’t need much control; I tend to play my liked songs playlist with smart shuffle, so it’ll play songs I’ve liked in the past and throw some I haven’t liked in every so often.
Learning something new
I don’t have much experience with electronics, but I can figure most things out quickly. I’ve dabbled with a few Raspberry Pi’s over the years, but not really delved into too much custom stuff and mostly just used what other people have created.
I have also never written Python before, however, I’ve written in various programming languages, so I wasn’t too worried about this.
I didn’t want to use a third-party library as that would ruin the fun and I wouldn’t learn nearly as much compared to doing it myself from scratch.
There’s also the trade-off with abstraction.
This way I have full control over how the solution works and can edit it to my liking, except obviously any limitations with Spotify’s Web API.
Features I wanted
- View and control music currently playing on my Spotify account.
- A decent display that’s big enough to show the song name, artist and cover artwork.
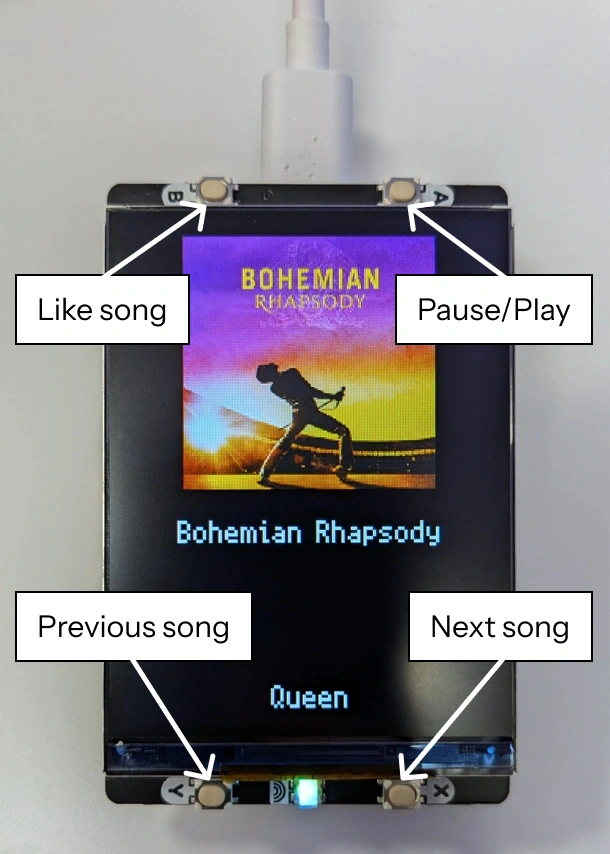
- Buttons for pause, play and skip forward and backwards.
- No ethernet cable, connect using Wi-Fi.
- Compact in size.
Bonus features
- Work with any device that audio is playing from.
- Completely wireless.
I’d need to figure out a power solution like a battery.
I didn’t get around to this, but it’s certainly possible. - A button to like the song that is currently playing.
I did this as I had enough buttons and the API is quite good. - An audio output line so I can connect my headphones or speakers.
This was not possible as the Spotify Web API does not provide audio.
How it works
Hardware
The display I picked has four buttons built around it which work great for the functionality I wanted.
Unfortunately, the Pimoroni Pico Plus 2 W doesn’t come pre-soldered with headers, so I had to do that.
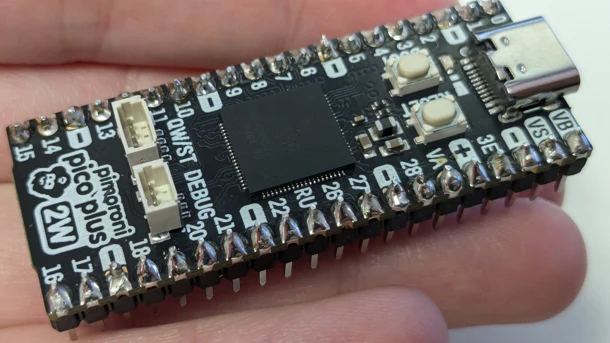
It’s not the worst soldering I’ve done.
Overview
- On boot, it will automatically connect using Wi-Fi.
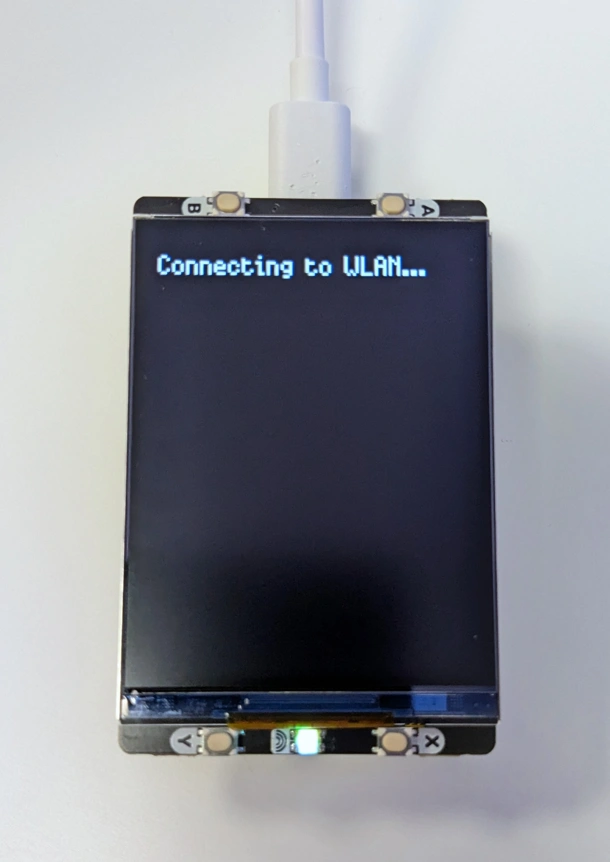
- Once connected, it will start a web server listening for requests on port 80.
- I navigate to the static IP address of the Pico in a browser which serves a simple HTML file with a link that opens a Spotify login screen, requesting the permissions we need access to.

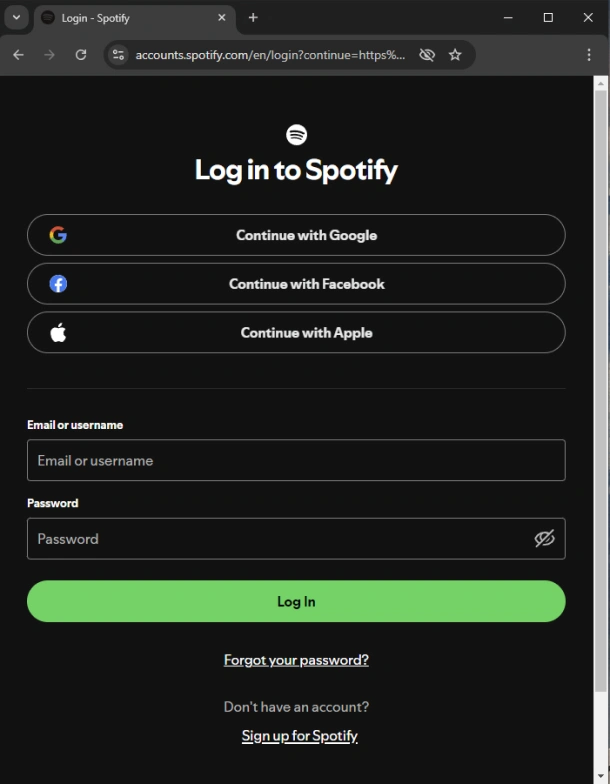
- Once logged in, Spotify will redirect you to the callback page which is another simple HTML page hosted on the Pico. The Pico grabs the token that is supplied in this redirect.
The Pico receives a callback code used to request an access token.
The callback page is purely functional and can be closed.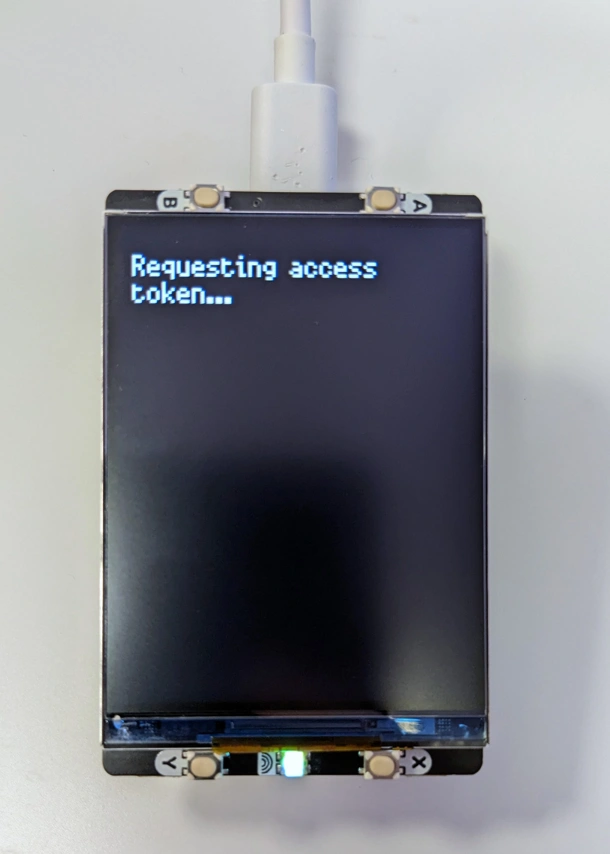
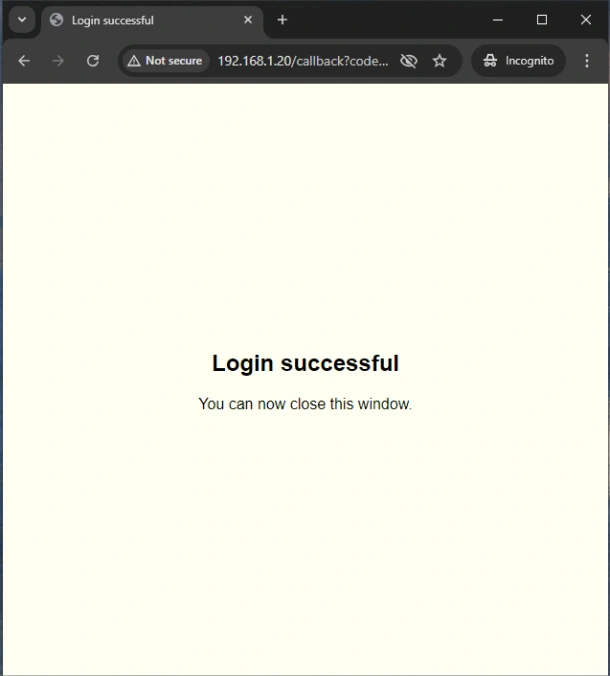
- The Pico will immediately start communicating using Spotify’s Web API, sending requests every few seconds requesting Spotify for an update on what you are listening to.
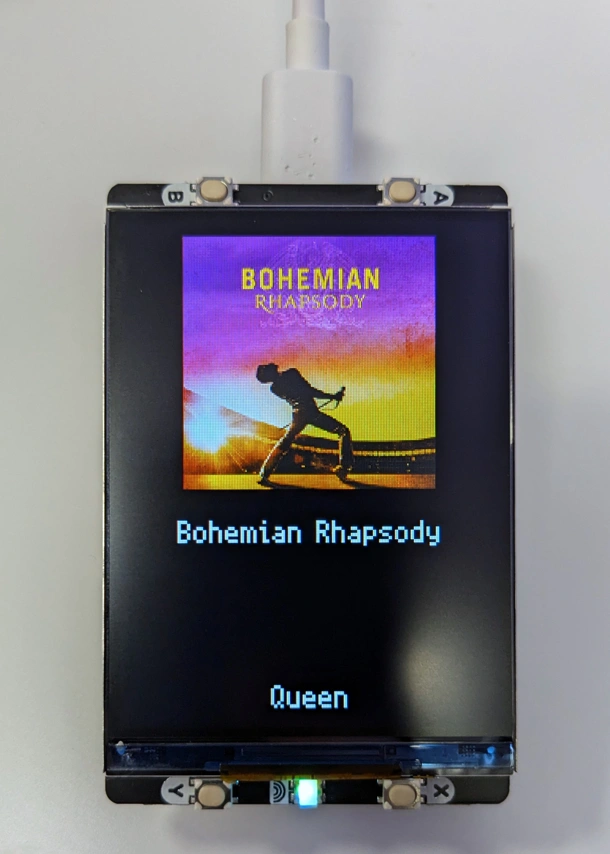
- Once listening to a song, it will send a second request for the album artwork, save it to disk and update the screen using the information it retrieved.
- When it recognises a new song is playing, it requests the album artwork, overwrites the file on the disk and updates the screen.
- When Spotify starts returning 401 errors, it requests a new authentication token using the stored refresh token.
- When finished, you can turn it off by removing the USB cable.
Issues and possible improvements
- Setting a static IP address on the Pico did not work. I solved this by setting it on my router.
- I’d love the cover album artwork to fit the screen’s width. Unfortunately displaying images on a screen with precision using MicroPython is far more complex than I expected.
- If the song or artist name is long, it can cause the text to wrap and be left-aligned instead of centred.
- A battery to make it entirely wireless would be nicer than having a USB cable.
Pico memory problem
I originally tried using a Pico W (not the 2 – I bought it before that version was released).
When I started adding the album artwork, I quickly realised the onboard memory wasn’t enough to write a JPG of the album cover and display it.
The Pico 2 W might have been enough, but I found the Pimoroni Pico Plus 2 W microcontroller which has better specs, so I just decided to go with that and not risk having other hardware issues.
There are other options, but I wanted to stick with using the Pico because of how small it is.
Conclusion
I had quite a lot of fun creating this little device. It’s not perfect by any means, but it works and I’ve achieved what I wanted it to do.
I’ve also learned loads while creating it, which is always the part I love. I now understand some of the surrounding Pico electronics and know how to write basic Python, along with having a physical Spotify media player that I can use without having to reach for my phone.
If you’d like to try it out on your Pico, I’ve made the code available on my Pico Spotify GitHub repository.